Generally, automatically updating apps is a good thing. However, it may happen at inopportune times, slowing down your device and using up mobile data if you’re not on wi-fi. Fortunately, it’s easy to disable auto-update apps and update Android apps manually. Today we’ll show you how.
Disable Auto-Update Android Apps In Google Play
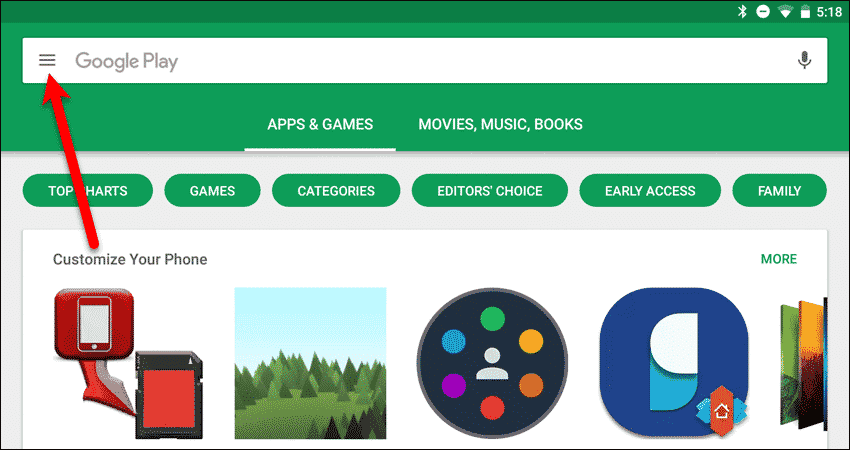
Open Google Play and tap the menu button (three horizontal lines).
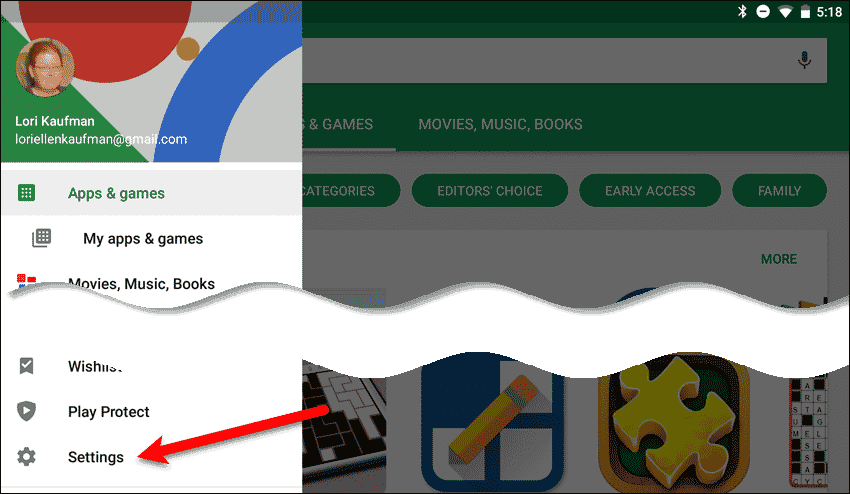
Then, tap “Settings” towards the bottom of the menu.
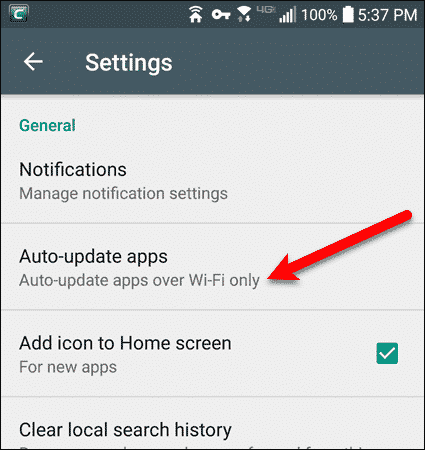
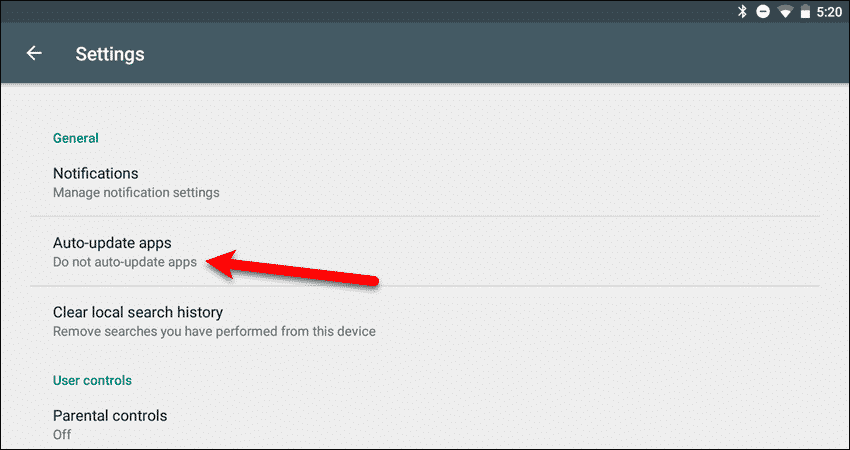
On the Play Store “Settings” screen, tap “Auto-update apps“.
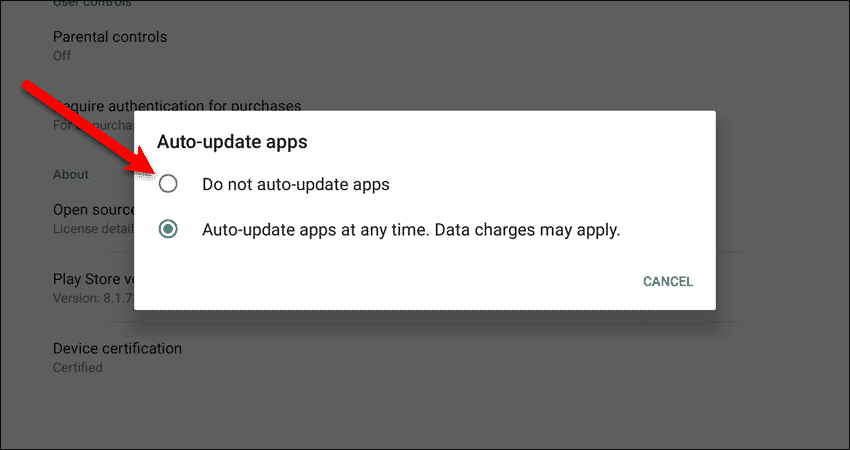
You’ll see two or three options on the “Auto-update apps” dialog box, depending on whether you’re using a device with only Wi-Fi or both Wi-Fi and mobile data. If you don’t want to automatically update apps at all, tap “Do not auto-update apps“. The device we used in the example below only has wi-fi, so only those two options are available.
If you’re using a device with both Wi-Fi and mobile data, you can choose one of the above two options, or “Auto-update apps over Wi-Fi only“.
Now, Google Play will not update apps unless you do it manually. We cover manually updating apps in the next section.
Manually Update Android Apps In The Play Store
If you’ve completely disabled auto-update, or chosen to update only over Wi-Fi (and you’re not currently on Wi-Fi), you’ll have to manually update your apps. Open the Play Store again and tap the menu button. Then, tap “My apps & games“.
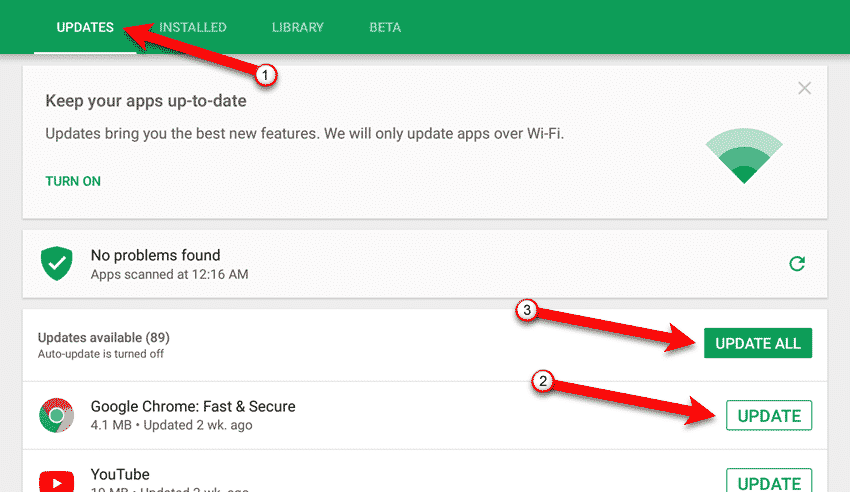
Make sure the “Updates” tab is selected. You can “Update All” the apps, or tap “Update” for individual apps. Notice that you’re encouraged to turn auto-update on at the top of the screen. How do you manage app updates on your Android device? Let us know in the comments. Δ Contact Us :- trendblog.guest@gmail.com

