To gain this ability, you will need to have full control over your network infrastructure. How do you do that? The answer is rather quite simple — using mapping software. The concept of network mapping is rather underrated and people usually don’t contemplate the vital roles it can play while debugging an issue. If you map your network along with other monitoring, you will have full control over your network as the door of critical information shall be opened for you. Information that includes access points, hosts, firewalls, location of routers and much more. This data for any network administrator holds massive significance yet it is so easily overlooked. Nonetheless, in this article, we will be showing you how you can map your network using Network Topology Mapper developed by Solarwinds.
Installing Network Topology Mapper
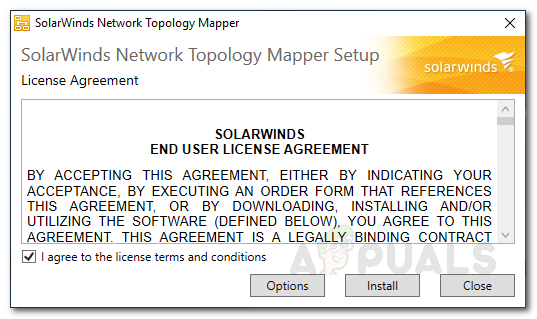
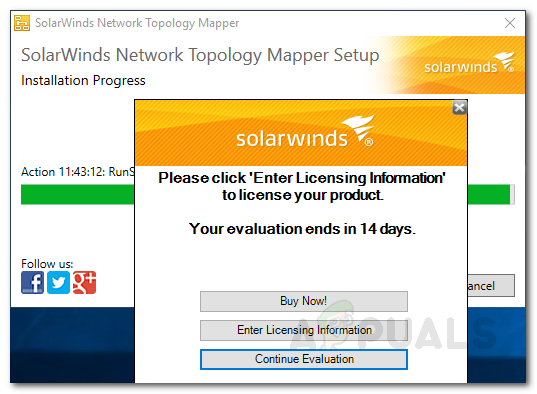
To start mapping your network, you will first have to install the tool on your system. The installation process is pretty easy and straightforward. First, you need to download the tool from Solarwinds’ website. For that purpose, head to this link and provide the information required. Once you have done that, click on Proceed to Free Download where you will be given a download link to the tool. Then, follow the instructions given down below:
Scanning your Network
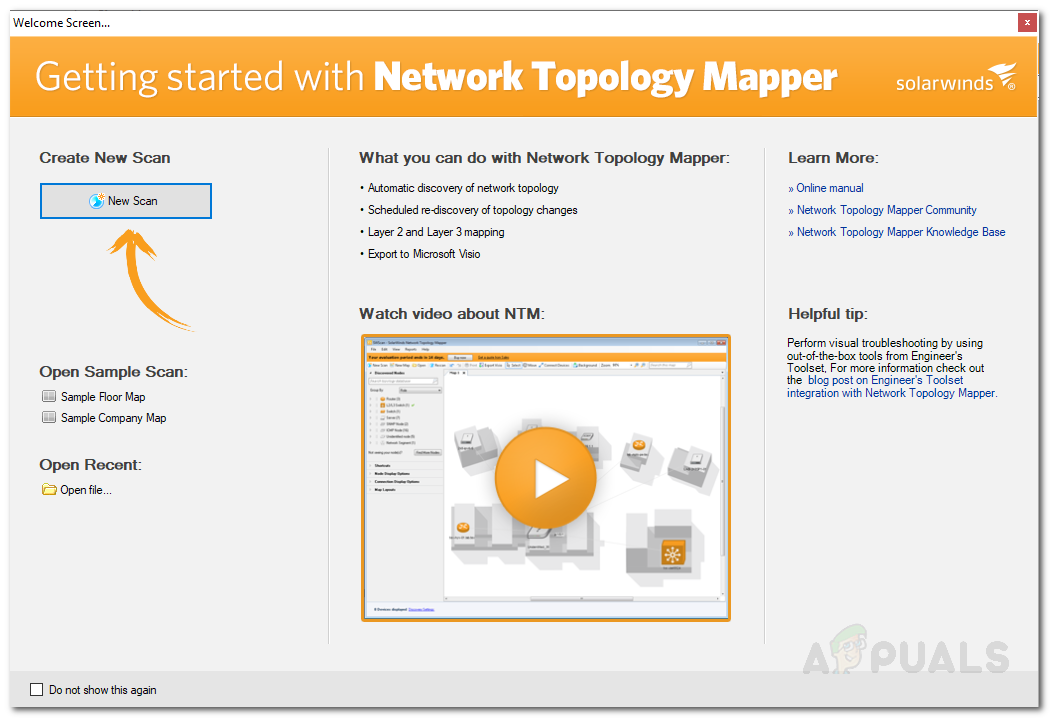
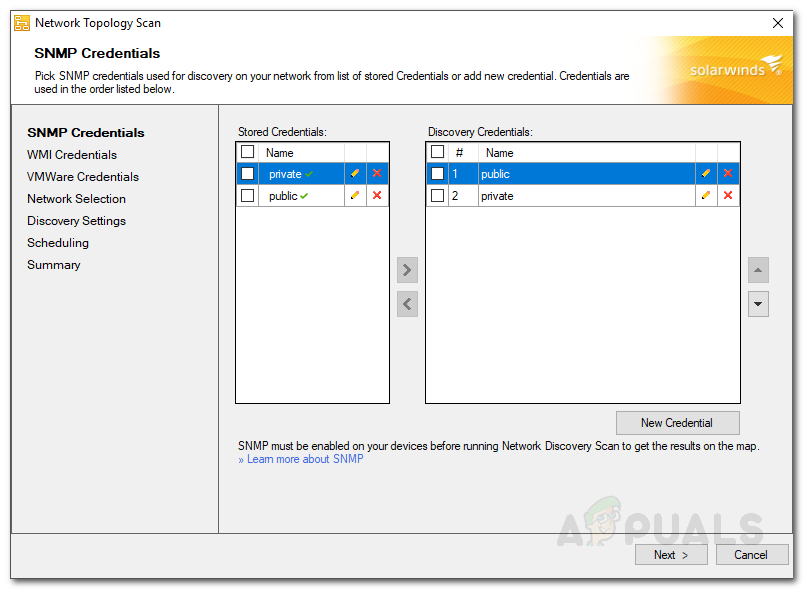
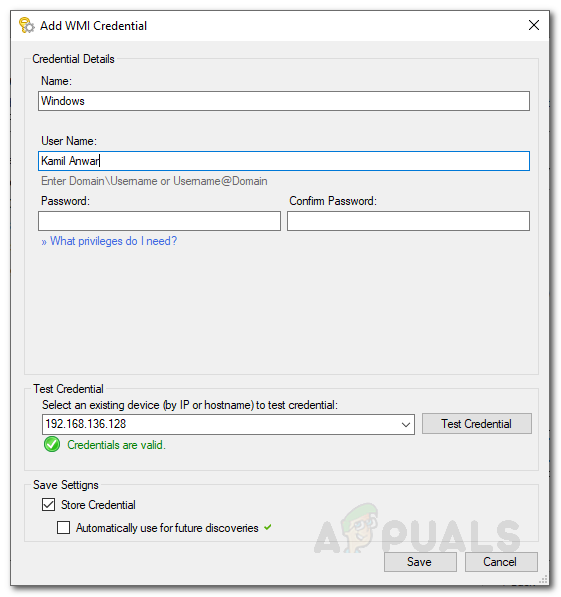
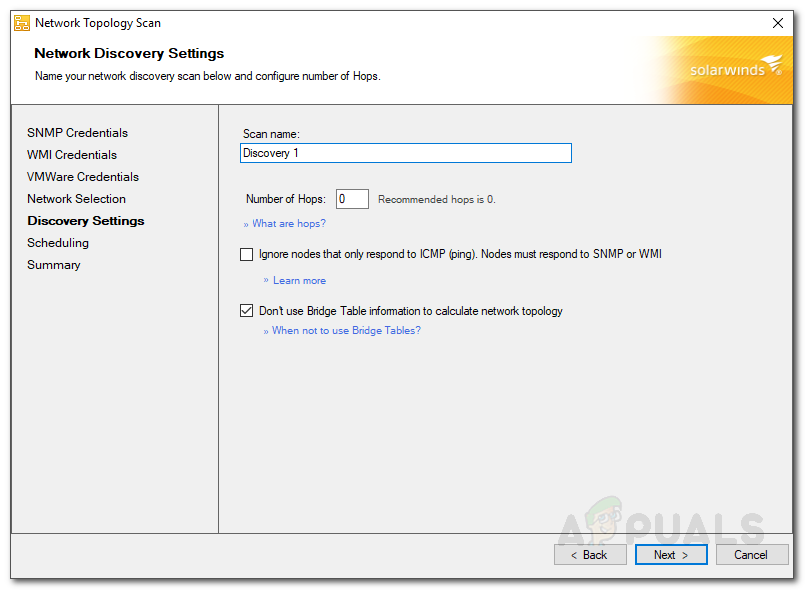
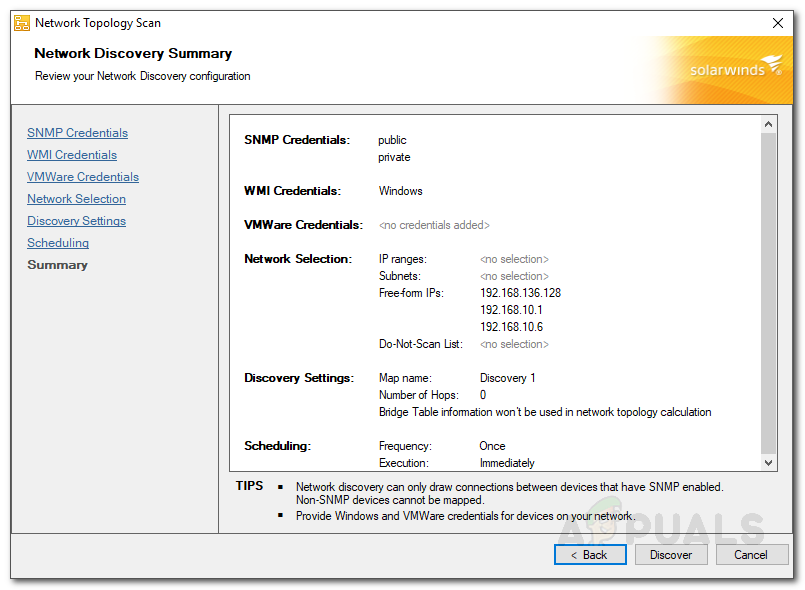
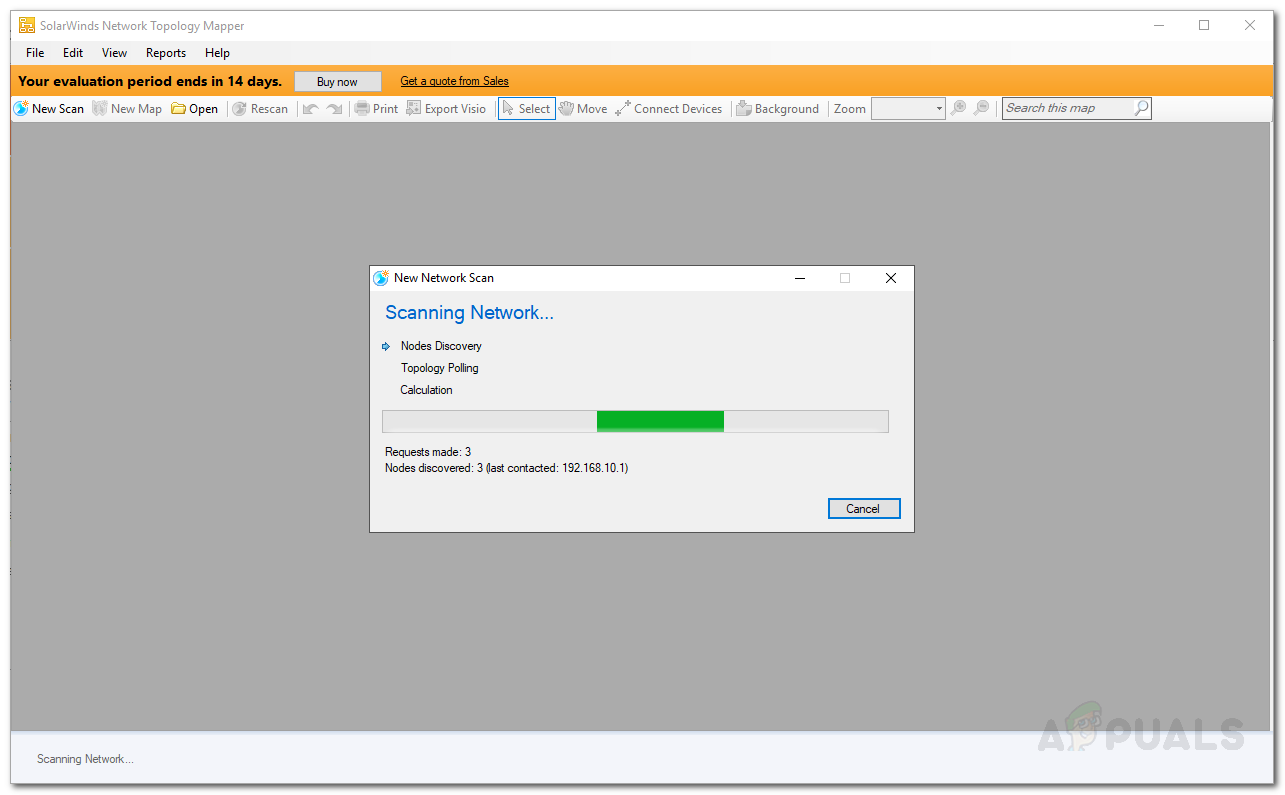
With Network Topology Mapper installed on your system, you will have to scan your network to start mapping. Once you close the installation wizard, NTM will automatically open up and you will be prompted the ‘Getting Started with Network Topology Mapper’ window. Using this, you will have to scan your network. Here is how to do it:
Working the Map
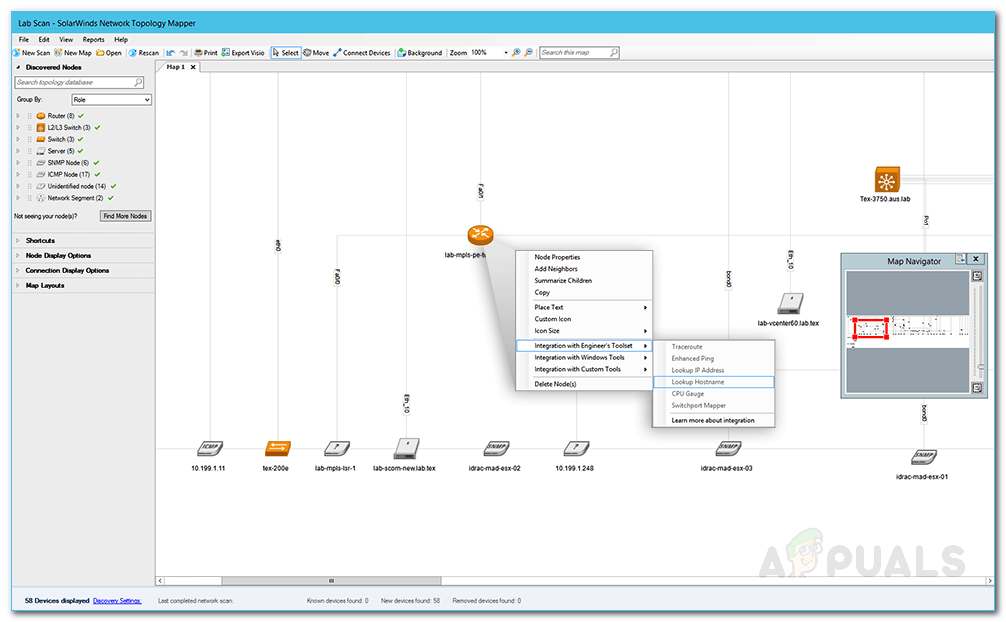
Now that you successfully mapped your network, you can work the map and find the information you need. Using NTM, you can connect devices by clicking ‘Connect Devices’ and then click-dragging from one device to another, display additional information about the nodes by expanding the ‘Node Display Options’ on the left-hand side. To view additional information about the devices, simply double-click on the device and it’ll show additional info about the device on the right-hand pane. The connection line colors refer to the connection speeds of the connected devices. To check the speeds of different colors, simply expand the Connection Display Options entry. You can also export the map to a Microsoft Visio file by clicking the Export Visio option on the toolbar.
The 5 Best Network Topology Mapping SoftwareHow to Create Network Global Site Map on Solarwinds WorldWide MapHow to Monitor your VoIP Network using VoIP and Network Quality Manager?How to Map a Network Drive in Windows 11?
