You’ll need to be working from a terminal for this technique. Search for terminal on the Ubuntu Dash or hold down Ctrl, Alt and T at the same time. LXDE, Xfce4 and KDE users might want to click on the Applications or Whisker menu, point to System Tools and open Terminal.
Method 1: Using the sync Command
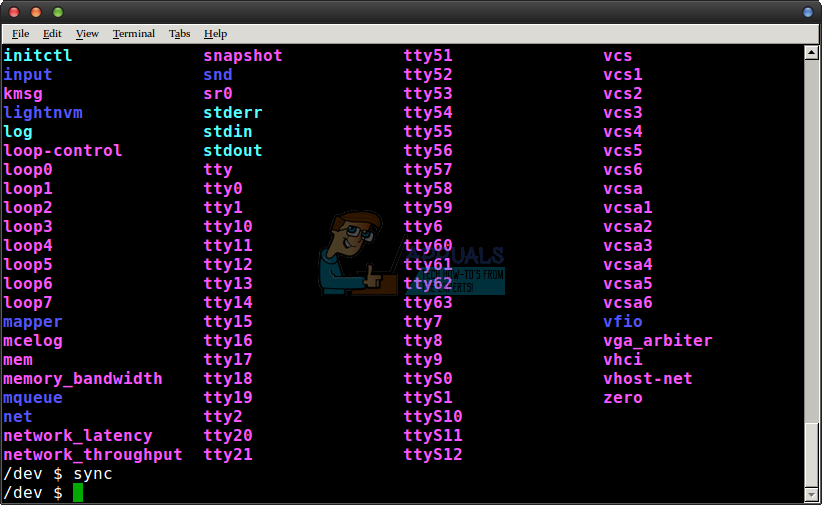
In many cases, users actually want to synchronize cached writes to the underlying persistent storage device that holds data. This means that any changes made to the file buffers in memory get an update on disk so if the system went down then and there you’d have a good chance of having everything current. If this concept seems a bit advanced, then just remember that this makes the information in your RAM the same as the information on your disk or SSD. Invoking the sync command without any other arguments does just that. It updates files on disk with any changes waiting to be written. Type sync at the command line and push enter. You won’t see any output at all, and you can do it after any command was run before it.
This method is incredibly simple since it only requires you to only learn one word. Unlike other methods, it’s perfectly safe to do at all times and won’t reduce performance except for the few moments while the sync to disk takes place. If you’ve been moving a bunch of files between external drives and want to make sure all writes are done, then free Linux buffers by typing sync and pushing enter. All other methods are strictly for making benchmarks. If you’ve ever heard someone talk about dirty sectors, then this is a solution for that problem. Linux sometimes holds files in memory but tells the rest of the operating system that they’re on disk, but running sync ensures that these changes are updated on disk as well. It doesn’t remove them from RAM, so they’ll still be offered to other programs that need to access them without slowing things down.
Method 2: Free Linux Buffers Completely
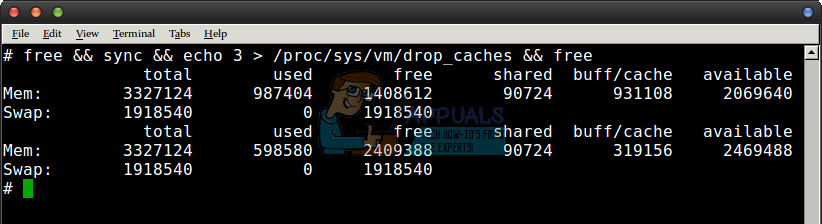
Please keep in mind before you go any further that Method 1 is almost always preferred since Linux caches aggressively on purpose to make your device move faster. You’ll almost always just want to run sync for safety purposes to make sure all disk writes have completed. If you’re trying to perform a hardware benchmark or something of the sort then there is a way to completely free Linux caches. Assuming you fully understand the danger of doing this, run free && sync && echo 3 > /proc/sys/vm/drop_caches && free in the terminal. Since it’s such a long command, you might want to highlight it here and copy it. To paste it in the terminal, either use the Paste option in the Edit menu or Unlike sync by itself, you’ll have to run this from a root prompt. Put sudo in front of the command if you’re logged in as a regular user. This line ensures you’ll see output indicating that the memory caches are actually getting emptied.
Once again, the only reason you’d ever want to do this is to take benchmarks. You might notice a real performance hit once you’ve done this since you’re emptying all the data Linux worked hard to cache. You could also disable swap by typing sudo swapoff -a and re-enable it with sudo swapon -a, but again these need root access and the only time you’d ever want to do this is if you were a developer trying to take real hardware benchmarks for a utility or file system process. Everyone else will simply want to run sync by itself as a regular user without root access to make sure that all of the dirty sectors are written out to disk.
Windows 10 Now Has Arch Linux Along With Ubuntu, SUSE And Other Complete Linux…Linux Mint 20 “Ulyana” An All 64-Bit Linux OS Based On Ubuntu 20.04 Stable…What Does the Linux Mint Dual Boot Automatic Install Utility Mean When it Asks…Microsoft Visual Studio Code Editor Official Build Latest Version Available For…