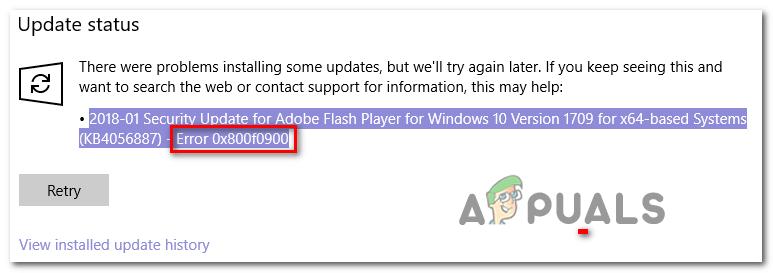
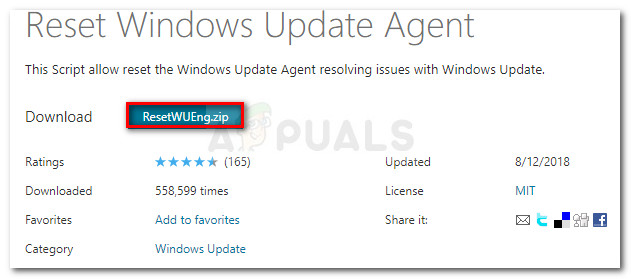
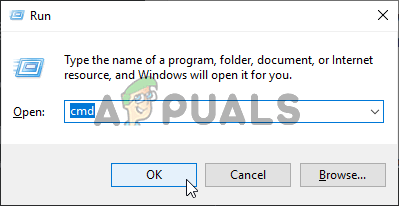
In most cases, affected users are reporting that the problem only occurs when they try to install the KB4464218 update. Since the issue is somehow facilitated by some corrupted files that are stored locally, one way to circumvent the issue altogether is to use the Microsoft Update Catalog to install the update manually instead of relying on the Windows Update client – However, this will not allow you to discover the root cause of the issue. In case you want to fix the underlying problem that’s causing the KB4464218, start simply by running the Windows Update Troubleshooter and see if the utility is capable of isolating the culprit and fixing it automatically. If that doesn’t work, move towards resetting the Windows Update component – You can either use the automated agent to do this or you can do the steps yourself (manually) from an elevated Command prompt. However, in the event that you’re dealing with an advanced case of system file corruption, you might need to initiate a system-wide system corruption scan (using the SFC and DISM utilities). In case the two conventional system file checkers (DISM and SFC) aren’t able to fix the issue for you, the final solution would be to refresh every OS component by doing a repair install (in-place repair).
Method 1: Installing the update manually
If you’re looking for a fix that will allow you to circumvent the issue regardless of the culprit that’s causing the problem, try downloading and installing the update that’s triggering the 0x800f0900 error manually. You can do this easily by making use of the public Microsoft Update Catalog. Unless the service responsible for applying Windows Updates is affected, the instructions below should resolve the issue for you (a lot of users have used it successfully). Here’s a quick step by step guide that will show you how to use the Microsoft Update Catalog to find an install the missing update: In case you were looking for a different fix (one that will reveal the root cause of the issue) or the steps above ultimately fail with a different error, move down to the next potential fix below.
Method 2: Running the Windows Update Troubleshooter
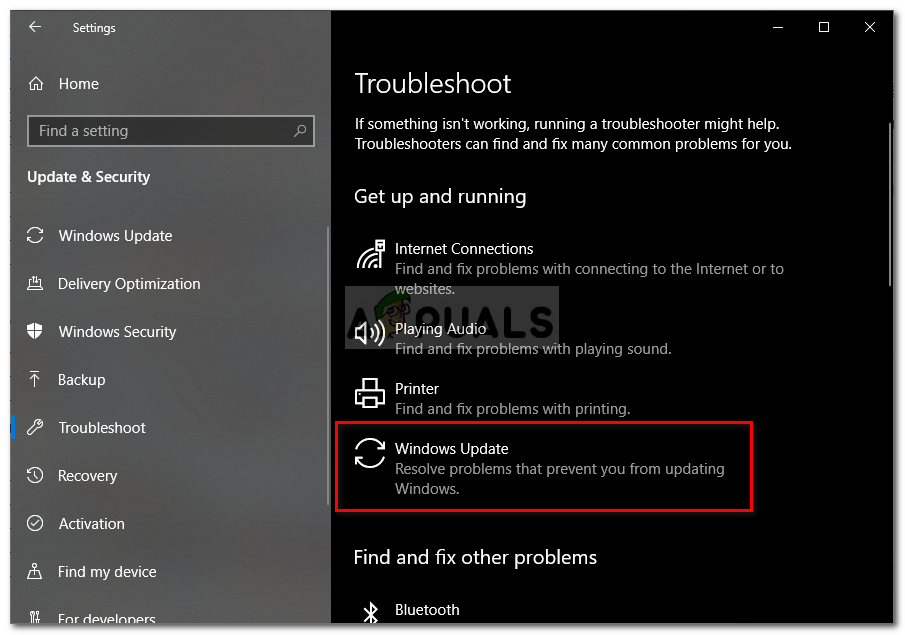
Since the issue seems to be exclusive on Windows 10, the next logical step would be to see if your operating system doesn’t have the ability to resolve this issue by itself. Keep in mind that the built-in troubleshooter on Windows 10 is way more efficient than it was on Windows 7, or Windows 8.1 It will automatically scan the Windows Update component for any inconsistencies and will apply a viable repair strategy in case it recognizes a familiar scenario. We’ve found several user reports claiming that the Windows Update Troubleshooter fixed the 0x800f0900 error by resetting every involved WU component manually. Here’s a quick step-by-step guide that will show you how to run the Windows Update troubleshooter from the Troubleshooting tab: If the same problem is still occurring, move down to the next potential fix below.
Method 3: Resetting WU
In case the Windows Update troubleshooter was unable to fix the issue for you, it’s likely that you’re dealing with an underlying corruption file affecting the WU component – one that cannot be resolved conventionally. In this case, you should proceed by resetting every process, server, and installation involved in this operation. When it comes to resetting every WU component, you have two approaches to choose from:
Using the WU Reset AgentResetting WU Manually
We’ve created two separate guides, providing steps for each of the two approaches. Feel free to follow whichever one you feel more comfortable with.
Using the Automated WU Reset Agent
Resetting Windows Update manually (via CMD)
In case the problem is still occurring, move down to the next potential fix below.
Method 4: Performing DISM and SFC scans
In case none of the methods above have allowed you to fix the 0x800f0900 error, it’s clear that you’re dealing with system file corruption. However, don’t despair, as Windows has a couple of built-in tools that will be able to fix most superficial corruption instances. If this scenario is applicable, you should initiate two scans in quick succession in order to root out and fix those corrupted system files that end up interfering with the Windows Update component. SFC (System File Checker) and DISM (Deployment and Image Servicing and Deployment) should be used in this case to get the issue resolved. First, you should start by running an SFC scan – This is an entirely local tool that scans for system file corruption and replace any detected instances with healthy copies fetched from an archive that is stored locally. Once the operation is complete, restart your computer and see if the problem is resolved at the next computer startup. In case the same problem is reappearing, perform a DISM scan. But keep in mind that in order to use it effectively, you will need a reliable internet connection since this tool relies on a sub-component of Windows Update to download healthy equivalents for the corrupted files that it identifies. At the end of this process, restart once again and see if the 0x800f0900 error is fixed. In case the same problem is persisting, move down to the next potential fix below.
Method 5: Doing a Repair Install
If none of the methods above have allowed you to fix the issue, it means that you are facing an underlying corruption instance that requires extraordinary measures in order to resolve it. In case you’ve come so far without a result, your only hope at fixing the issue aside from doing a clean install. But in case you want to avoid total data loss, doing a repair install (in-place upgrade) would be the preferred approach. This operation will allow you to reset every Windows component (including booting relation data) while allowing you to keep every bit of personal data including installed applications, games, videos, images, documents, etc.
Fix: Windows Update Error “We Couldn’t Connect to the Update Service”[SOLVED] One of the Update Services is not Running Properly in Windows UpdateLast Free Update For Windows 7 Released, KB4534310 And KB45343140 Are The Final…How to Update the Windows Update Agent to the Latest Version
