The issue arises when a user tries to use the (integrated or external) camera (in any application) but the camera outputs (regardless of images, videos, online video conferences/meetings, or live streams) only in black & white. The issue is not limited to a particular PC or camera manufacturer. Before moving on with the solutions to change the color of your camera (i.e. from black & white), make sure your camera is not operating in the night mode. Also, check if there is no sticker (or any other type of blockage) on the camera lens or flash. Moreover, it will be a good idea to check your camera (if not an internal/integrated camera) with another PC to rule out any hardware issue. In the case of an internal/integrated camera, check if the issue consists in the safe mode of your system. If you are encountering the issue with a single application, then check if reinstalling that application solves the issue.
Solution 1: Change the Camera Settings
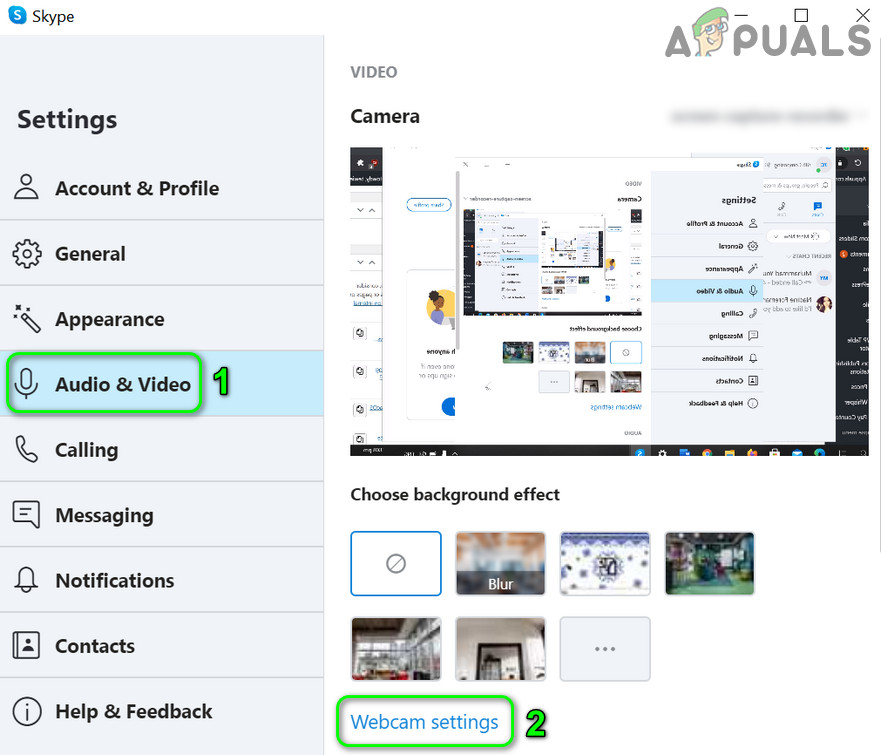
You may fail to use the camera in color mode if your camera settings are barring it from doing so. In this case, changing the relevant camera settings may solve the problem. You may use the camera software (like Thinkvantage Communication Utility, if installed), built-in camera app, or Skype (personal or business version).
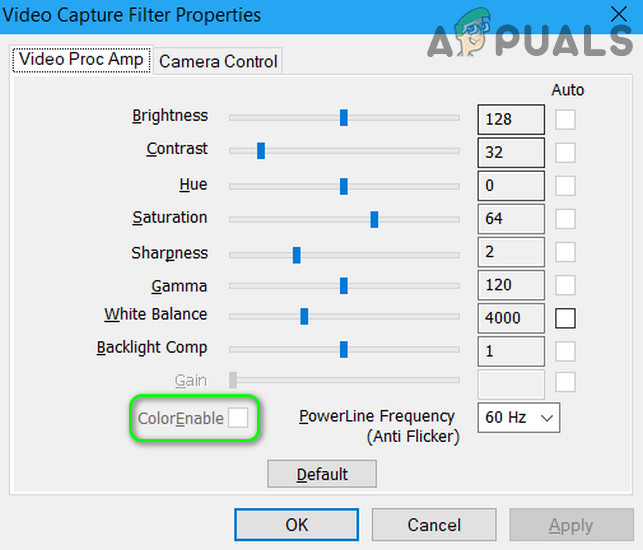
Enable Color for the Camera
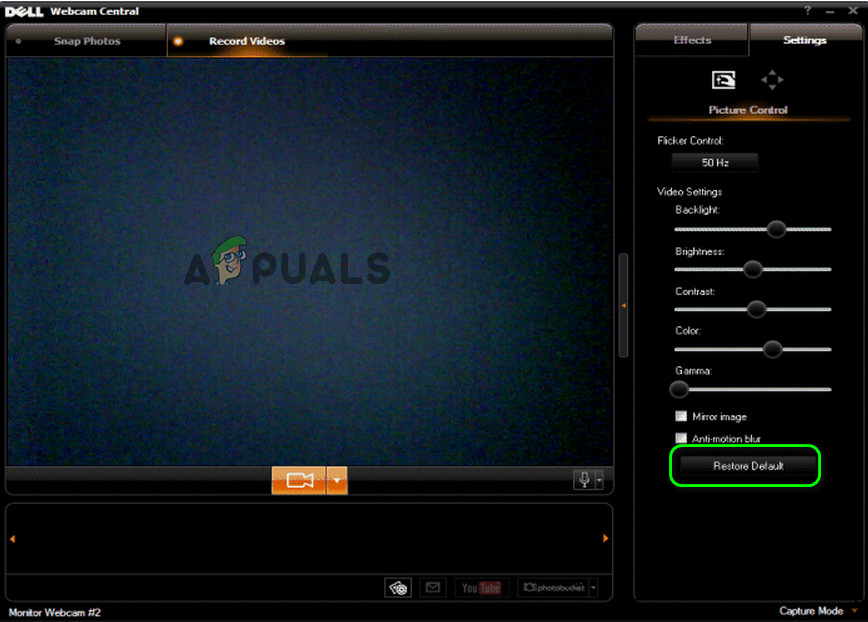
If you are trying to use the camera software (can be launched through the startup menu), then you may find the option (either to enable colors or disable Black & White) in the Settings, Tools, or Options menu. If you have Dell Webcam Central software, then make sure the toggle of color is enabled in the Settings of the application.
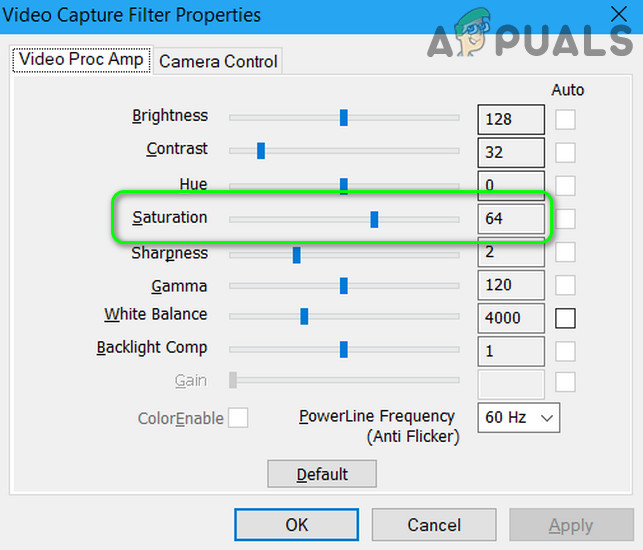
Change Saturation Settings of Your Camera
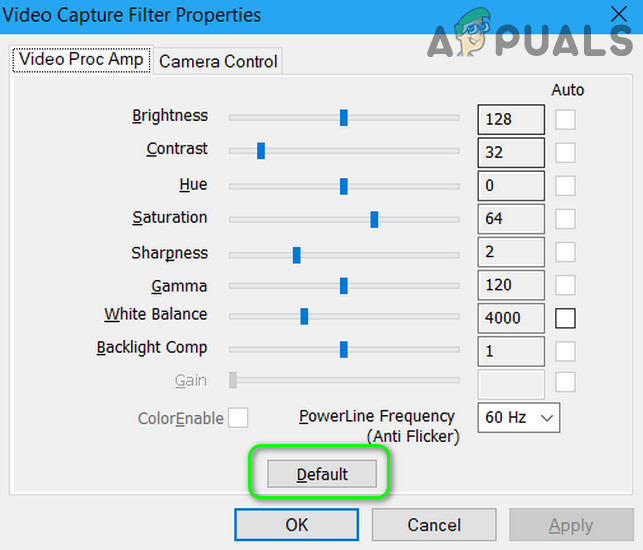
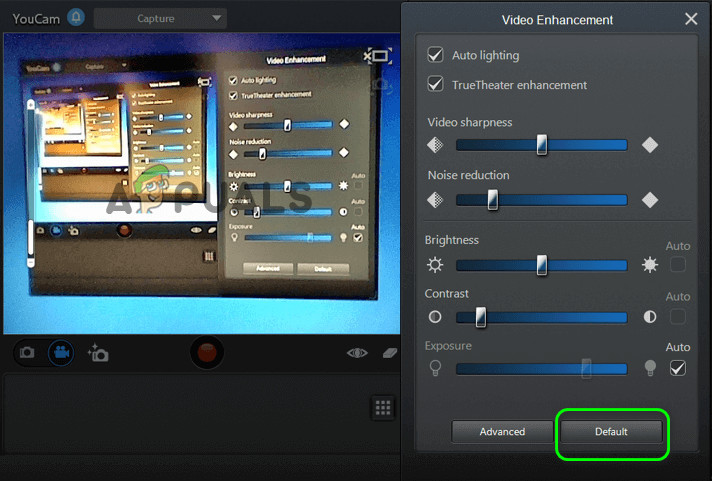
Reset Camera Settings to Defaults
If you are using Cyberlink YouCam software, then follow the steps below: If you are using the Dell Webcam Central, then follow the steps below:
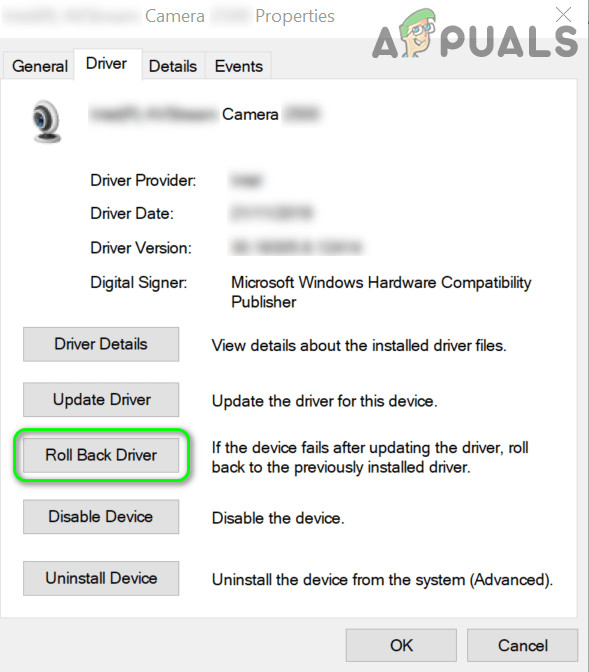
Solution 2: Roll back the Camera Driver
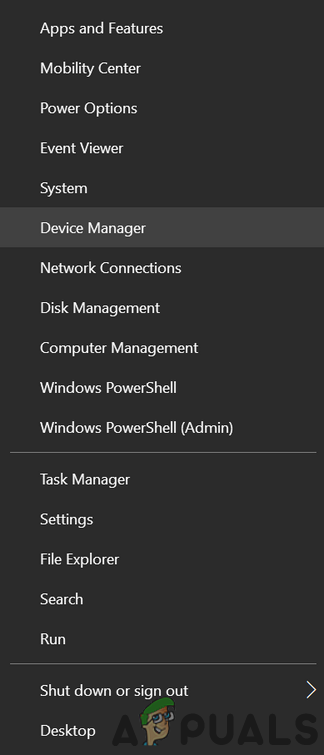
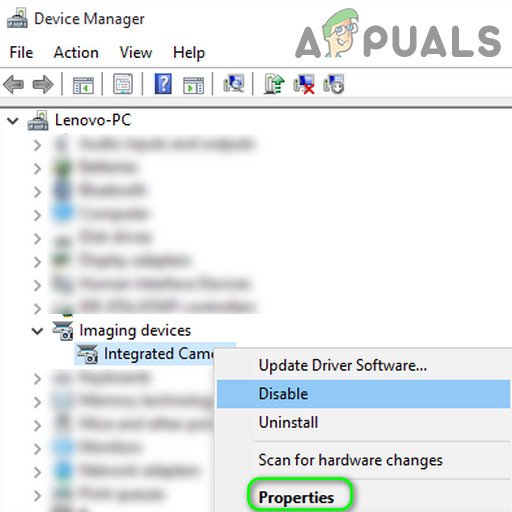
Third-party vendors keep on updating their device drivers to keep up with the latest ecological developments. But a buggy device driver update of your camera may cause the error under discussion. In this case, rolling back to the previous version of the driver may solve the problem.
Solution 3: Update Drivers and Windows of Your System to the Latest Release
Microsoft and other vendors keep on updating drivers and Windows to keep up with the latest technological advancements and patch the bugs reported (such as causing the current camera issue). In this scenario, updating the drivers and Windows of your system to the latest release may solve the current camera problem.
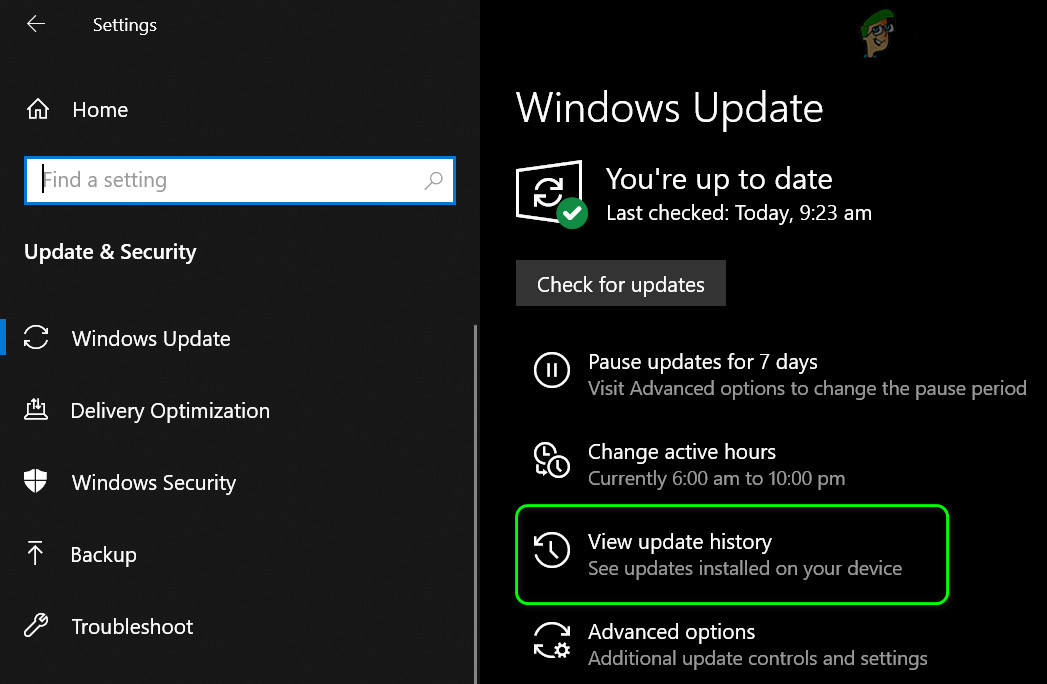
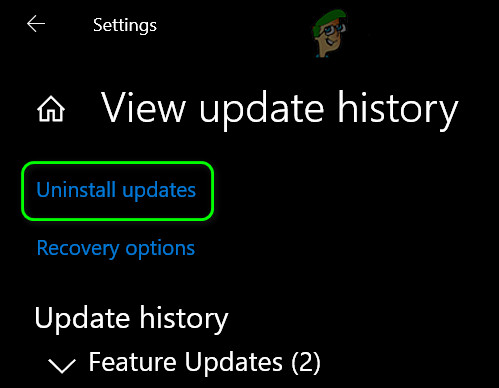
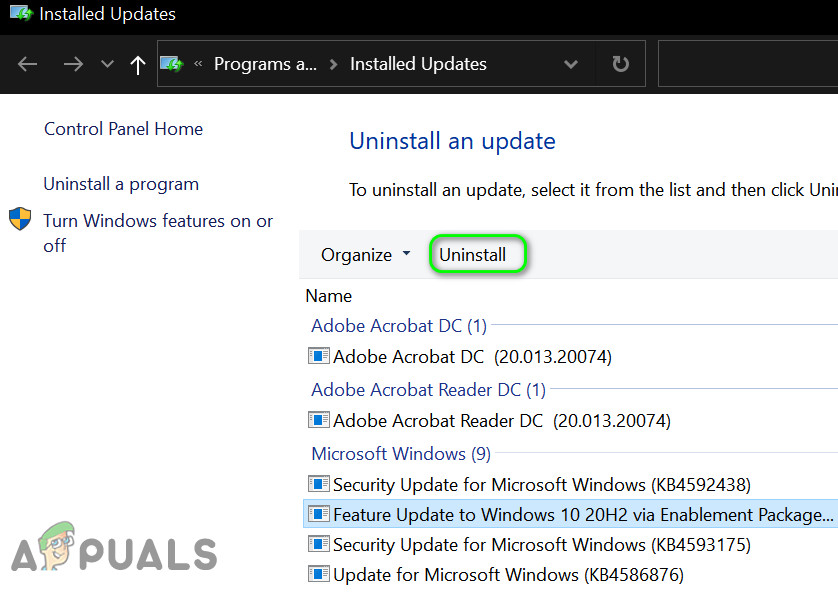
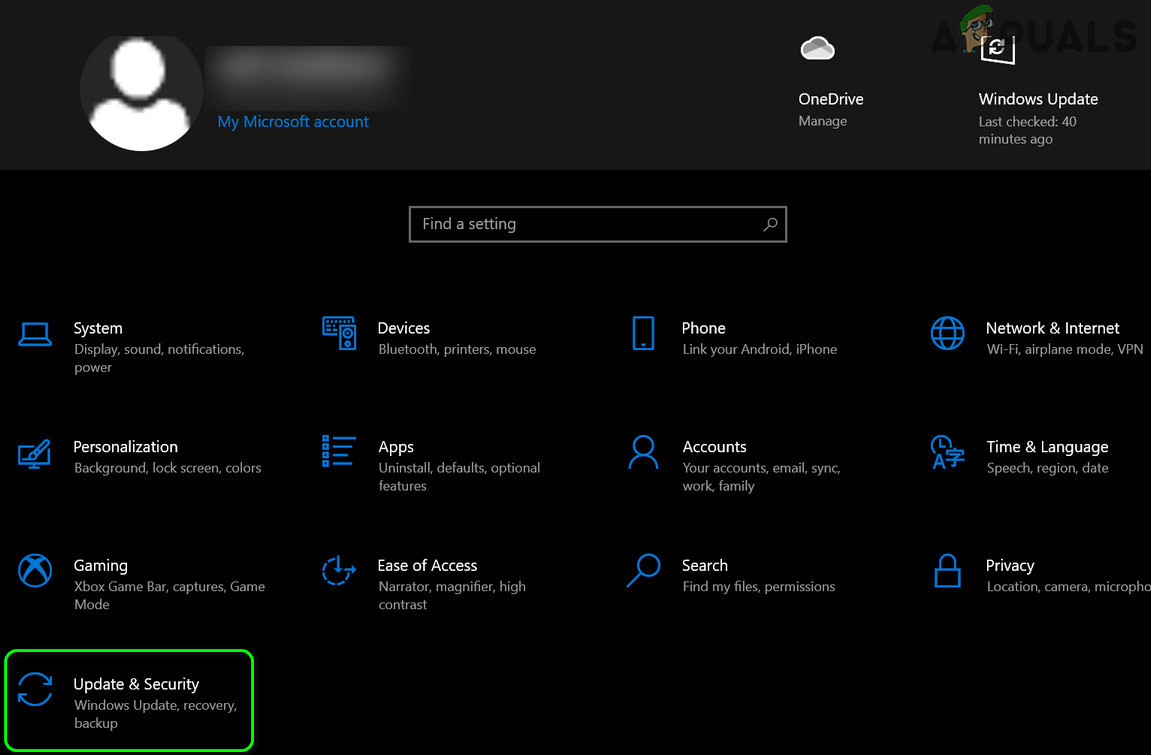
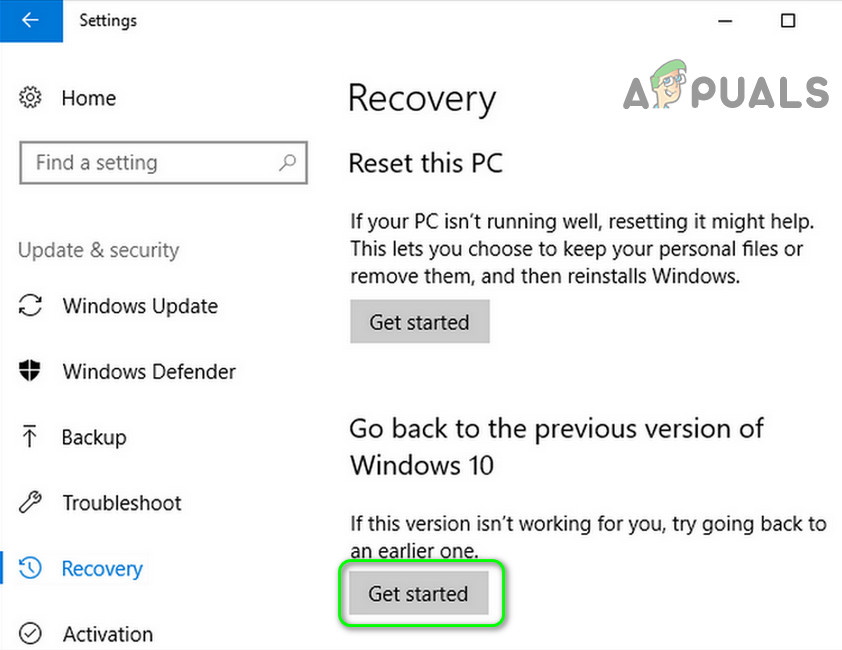
Solution 4: Uninstall the Buggy Windows Update
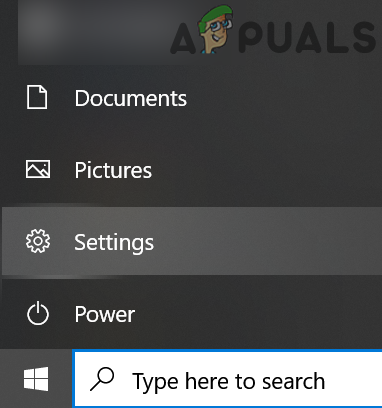
The camera issue could be a result of a buggy update by Microsoft. In this case, removing the buggy update may solve the problem. If the issue occurred after a feature update, then you may have to revert to the older version of Windows 10.
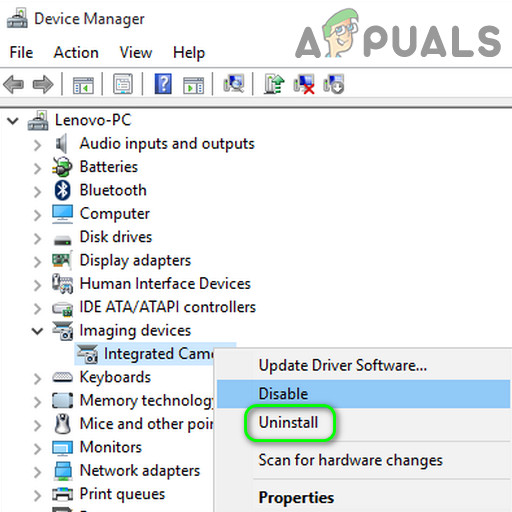
Solution 5: Reinstall the Camera Driver
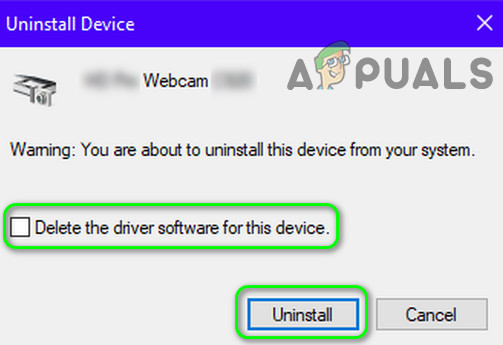
You may encounter the error at hand if your camera driver is corrupt. In this context, reinstalling the camera drivers may solve the problem. If the reinstallation of the driver did not solve the issue and you are using a software package (like Dell Webcam Central) to manage the camera, then check if reinstalling the complete camera software (in Settings»Apps), not just the driver, solves the issue. If the issue is still there, then check if using a virtual cam application solves the issue. If not, then get your camera checked for any hardware issues.
Fix: Windows 10 Black And White ScreenHow to Print Black and White on MacHow to Print in Black and White on Microsoft WordFix: On Screen or Touch Keyboard Changed from Black to White


