If you’re working from a graphical user interface, then click on the Applications menu and point to System Tools. Click on Terminal to get to a CLI prompt. You might also wish to hold down Ctrl, Alt and T. Those using a headless Fedora or CentOS machine should hold down Ctrl, Alt and F2 to get to a virtual terminal. You may wish to log in as root if you never configured the sudo command.
Method 1: Temporarily Change the CentOS Hostname
If you only want to change the Fedora, Red Hat or CentOS hostname until the next reboot, then you can do it temporarily. As the root user, type hostname newname and push enter. This will change your hostname to newname, though you should replace that phrase with the actual value you’d like to change CentOS hostname data to. You could use any valid hostname. Type hostname and push enter to see that the name has indeed been changed.
You may wish to use sudo hostname newname if you’re logged in as a regular user and have access to the sudo command. Not all CentOS and Fedora installations use sudo the way that most Debian-based distributions use it.
Method 2: Permanently Change the CentOS Hostname
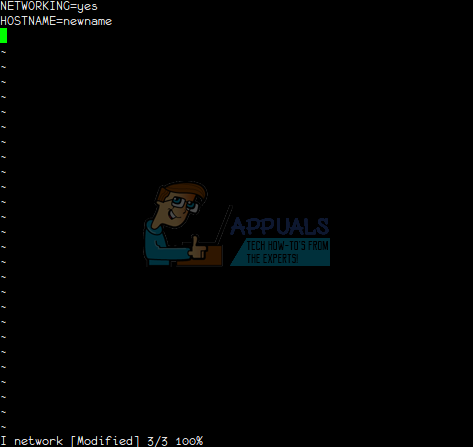
You’ll still need to be acting as root, so remained logged in as such if you don’t have access to the sudo command on your installation. Type and push enter. You may wish to type sudo if you’re a regular user and can do so. By the way, if you’d prefer to use another text editor than vi and have it installed, then replace the word vi with whatever editor you’d prefer. Depending on your configuration, you might only have two lines in the file or you may have many. Make sure that NETWORKING=yes is in the file and then find the line that starts with HOSTNAME= so you can place your new hostname immediately after it. In our case, we changed HOSTNAME to newname and saved the file. If you’re using vi, then push the Esc key then type :wq to save your work and exit.
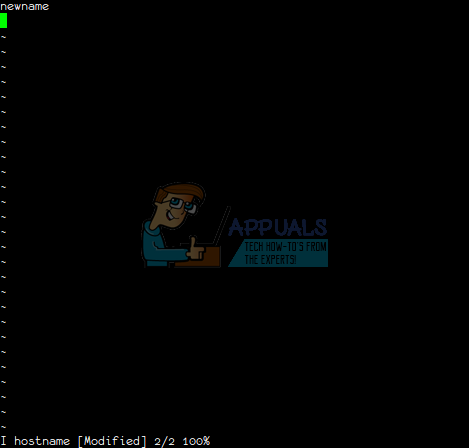
Now type vi and change the hostname given on the second line to your current new hostname. Save the file and exit. You’re set for the next reboot as long as you’re using CentOS 6 or compatible versions of Fedora and Red Hat Enterprise Linux.
Method 3: Change CentOS Hostname Data on CentOS 7
It’s even easier if you’re using a newer version of CentOS and this might be the case for newer Red Hat and Fedora users. You’ll still need to open and edit the hostname there, but you won’t have to work with the file like you would have with CentOS 6 servers. Type push enter and then change the name on the only non-blank line in the file. You’ll then need to push the Esc key and type :wq before pushing enter to exit. This will ensure that your changes to the hostname stick with the next reboot.
For a temporary change, assuming that you’re still working as the root user, simply type hostnamectl set-hostname newname, with the phrase newname replaced with whatever your new hostname is. This change will remain until you restart CentOS again. Note that this should all work with a graphical command line system as well, but we were using a pair of virtual machines to test these designs out for the purpose of taking screenshots that ran completely headless. This explains the lack of visual definition in them.
How to Fix ‘Can’t Resolve Hostname’ Error on MinecraftFix: SSH Error ‘could not resolve hostname server’How to Change Resolution of your iPhone 6How to Change your e-mail settings in Windows Live Mail


